
Is your car’s battery acting up, or have you noticed a strange flickering of dashboard lights? These could be signs that your alternator is not functioning properly. The alternator is a critical component in your car’s electrical system, ensuring your battery stays charged and all electric components run smoothly. Learning how to test your alternator can save you time, money, and a visit to the mechanic.
This guide will walk you through the steps to test your alternator like a professional, identify issues quickly, and take the necessary steps to keep your vehicle running efficiently.
Understanding the Role of an Alternator
Before we get into the testing process, it’s important to know what an alternator does. Your car’s alternator charges the battery and powers the electrical systems while your engine is running. Without it, your battery would drain rapidly, leaving you stranded. A faulty alternator can impact everything from your headlights to your air conditioning.
Here are some common symptoms of a failing alternator:
Dim or flickering headlights
Dashboard warning lights (often a battery icon)
Strange noises like grinding or whining
Electrical failures (e.g., power windows or radio not working properly)
If you notice these issues, it’s time to test your alternator.
Step 1: Start with a Battery Test
Why Test the Battery First?
Before testing the alternator, you need to ensure that the battery is in good shape. A weak or faulty battery can mimic alternator problems or make alternator testing results invalid.
How to Test Your Battery:
Inspect the terminals: Check for signs of corrosion or loose connections. Clean the terminals if necessary to ensure accurate readings.
Use a multimeter: Set your multimeter to 20 volts in the DC section. Attach the red lead to the positive terminal and the black lead to the negative terminal. A healthy battery should read around 12.6 volts when the car is off.
Check voltage drop during cranking: With the leads connected, have someone start the car. The voltage should not drop below 10 volts while cranking. If it does, your battery may need to be replaced.
Test cold cranking amps (CCA): If you’re unsure about your battery’s health, you can also check the cold cranking amps. Compare the reading to your battery’s rated CCA.
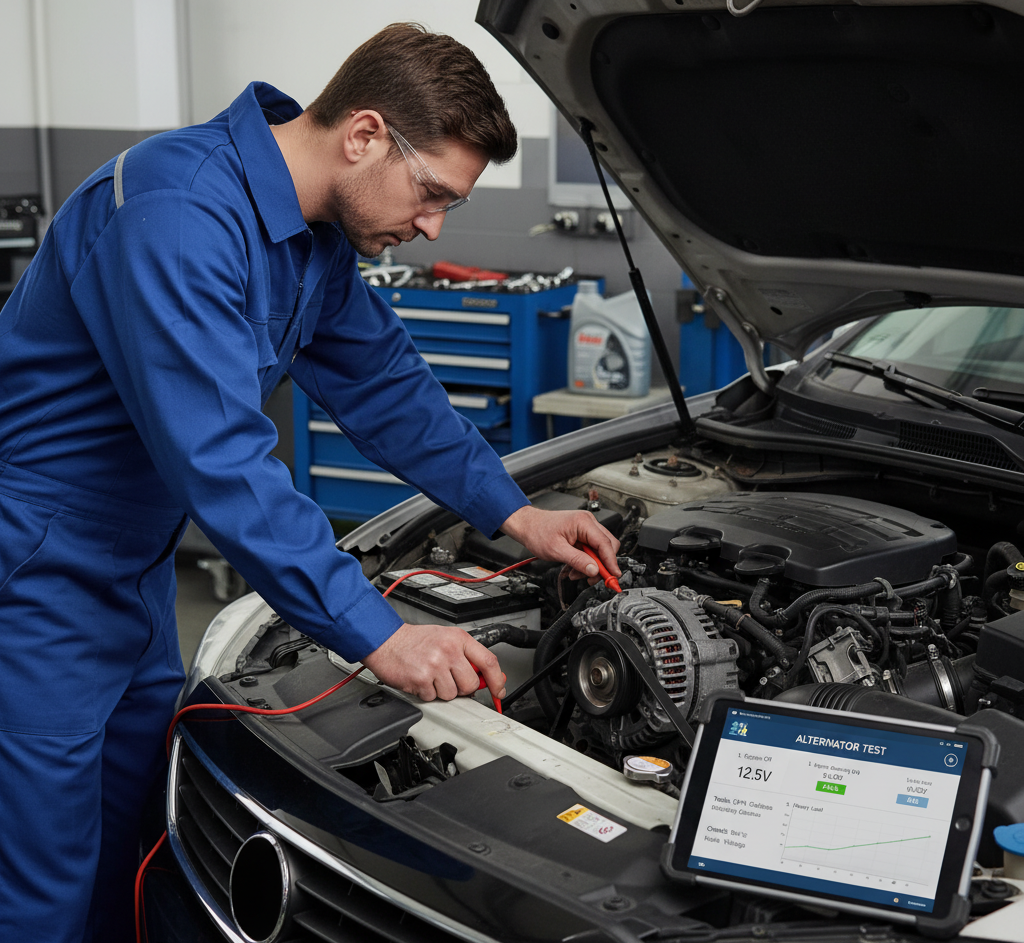
Step 2: Perform an Alternator Test
Once your battery is confirmed to be in good condition, you can test the alternator.
Tools You’ll Need:
A multimeter
A repair manual for your specific vehicle (optional but helpful)
Steps to Test the Alternator:
Measure idle voltage: Start your car and use the multimeter to measure the voltage at the battery terminals. Rev the engine to about 2,000 RPM. A healthy alternator should produce between 13.5 volts and 15 volts depending on your car’s model.
Add a load: Turn on electrical accessories such as headlights, air conditioning, and the radio to create a load on the system. The multimeter reading should stay above 13.5 volts. If it drops significantly lower, your alternator may be underperforming or failing.
Check for overcharging: If the voltage reading exceeds 15 volts, your alternator may be overcharging the battery, potentially causing damage to your car’s electrical systems. This could indicate a faulty voltage regulator that needs immediate attention.
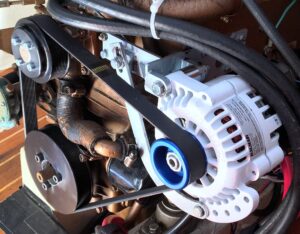
Inspect related components: Ensure the serpentine belt is not loose or worn. A loose belt can prevent the alternator from charging efficiently. Also, check the alternator fuse to make sure it’s not blown.
Red Flags You Shouldn’t Ignore
While testing your alternator, watch for these warning signs:
Significant voltage drop under load: This suggests that your alternator is struggling to supply enough power.
Overcharging: High voltage levels above 15 volts can damage your battery and require immediate fixes.
Unusual noises: Grinding or whining noises may indicate internal alternator damage or a bad pulley.
If any of these signs persist after testing, consider consulting a mechanic or seeking professional repairs.
Pro Tips for Accurate Results
Testing your alternator is fairly straightforward, but here are a few tips to ensure accurate results:
Conduct your tests in a well-ventilated area and keep your car parked on a stable surface.
Consult your vehicle’s repair manual for specific voltage ranges, as they may vary by make and model.
Always wear protective gear, such as gloves and safety goggles, when working with electrical components.
Troubleshooting and Next Steps
If your alternator test indicates a problem, here are a few steps to take:
Replace the alternator: If your readings suggest that the alternator is failing, you’ll need to replace it. Many auto parts stores can run additional diagnostics to confirm.
Fix the voltage regulator: If the issue is overcharging, a faulty voltage regulator might be the culprit.
Check wiring and connections: Sometimes, a bad connection or damaged wiring can mimic alternator issues. Inspect these thoroughly.
Seek professional help: If you’re unsure or uncomfortable performing repairs yourself, consult a trusted mechanic for further evaluation.
Keep Your Car Running Smoothly
Testing your alternator at home doesn’t have to be complicated—with the right tools and knowledge, you can diagnose problems and take action before they lead to major issues. Regularly checking your car’s battery and alternator ensures that your vehicle stays in excellent working condition.
If you’d like to see these steps in action, check out the Our YouTube tutorial. This video provides a detailed, easy-to-follow walkthrough of alternator testing.
By staying proactive, you’ll not only save money on potential repairs but also extend the life of your vehicle’s electrical system.